iOS
Prerequisites
Before setting up the passbolt mobile app on iOS, ensure you have:
- A passbolt account already configured in your browser
- Your passbolt server URL
passbolt mobile apps require HTTPS to function. If you're using a self-signed certificate, you'll need to import it to your device first. See our TLS (SSL) certificate import guide for detailed instructions.
Download and Install
Scan the QR code below to download the passbolt app from the iOS App Store, or search for "passbolt" in the App Store on your device.

Initial Setup
Step 1: Launch the App
Open the passbolt app and tap "Connect to an existing account".
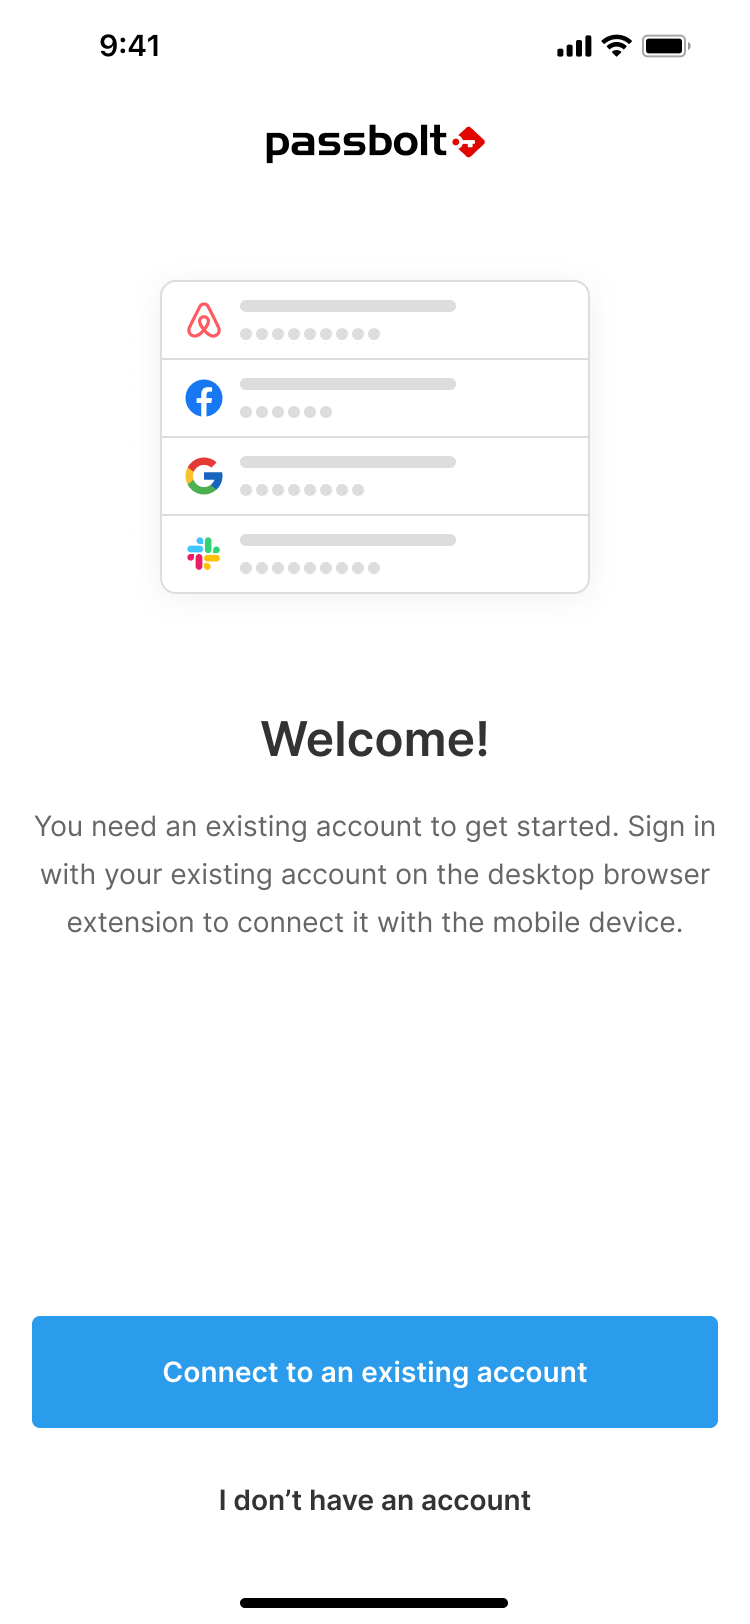
Step 2: Choose Setup Option
Select "Connect to an existing account".
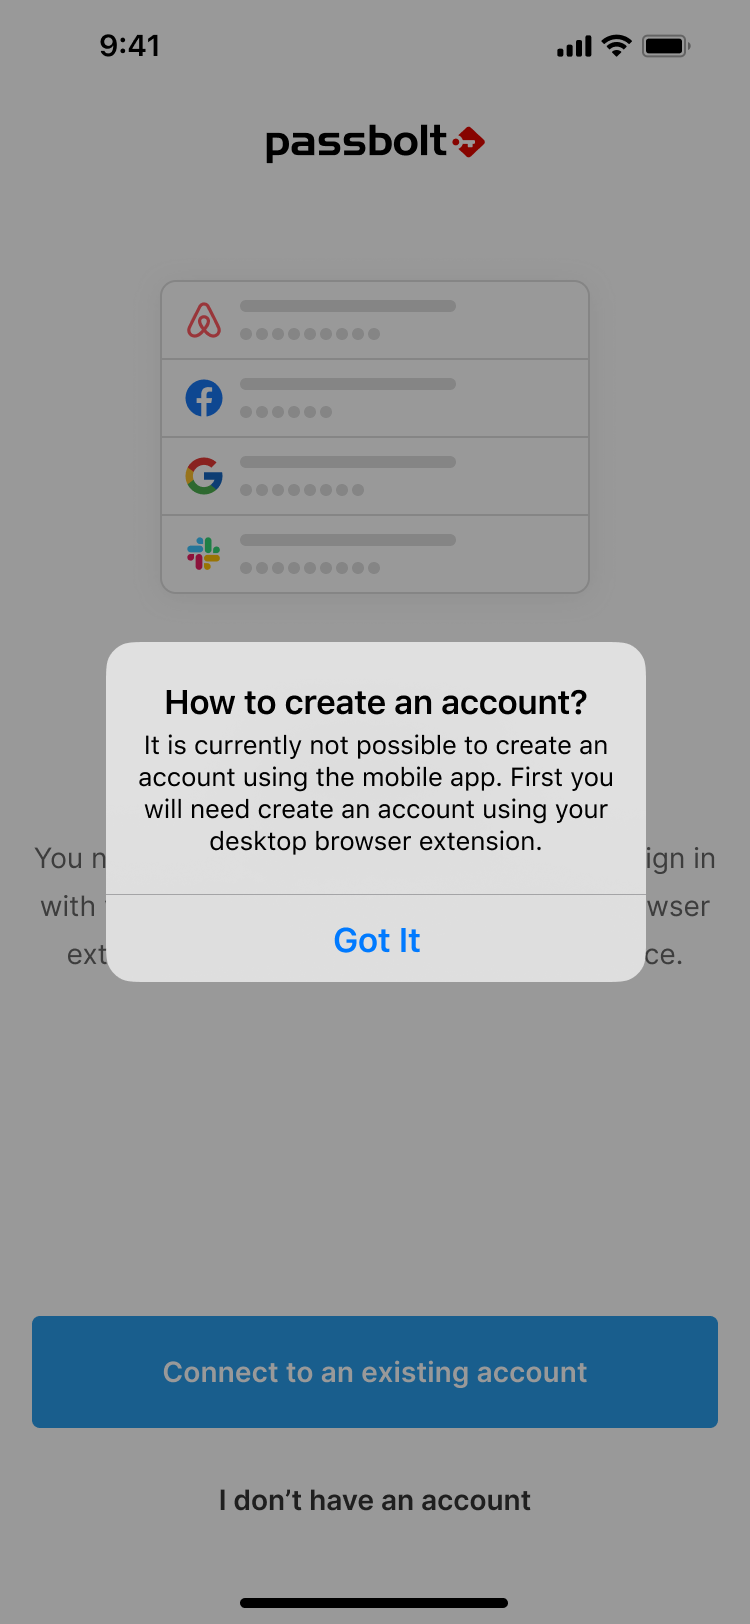
It is currently not possible to create an account using the mobile app. You must first create an account using your desktop browser extension.
Step 3: Connect to Existing Account
- Sign in using the browser extension on your desktop
- Go to the profile page in your browser
- Go to the mobile section in your profile
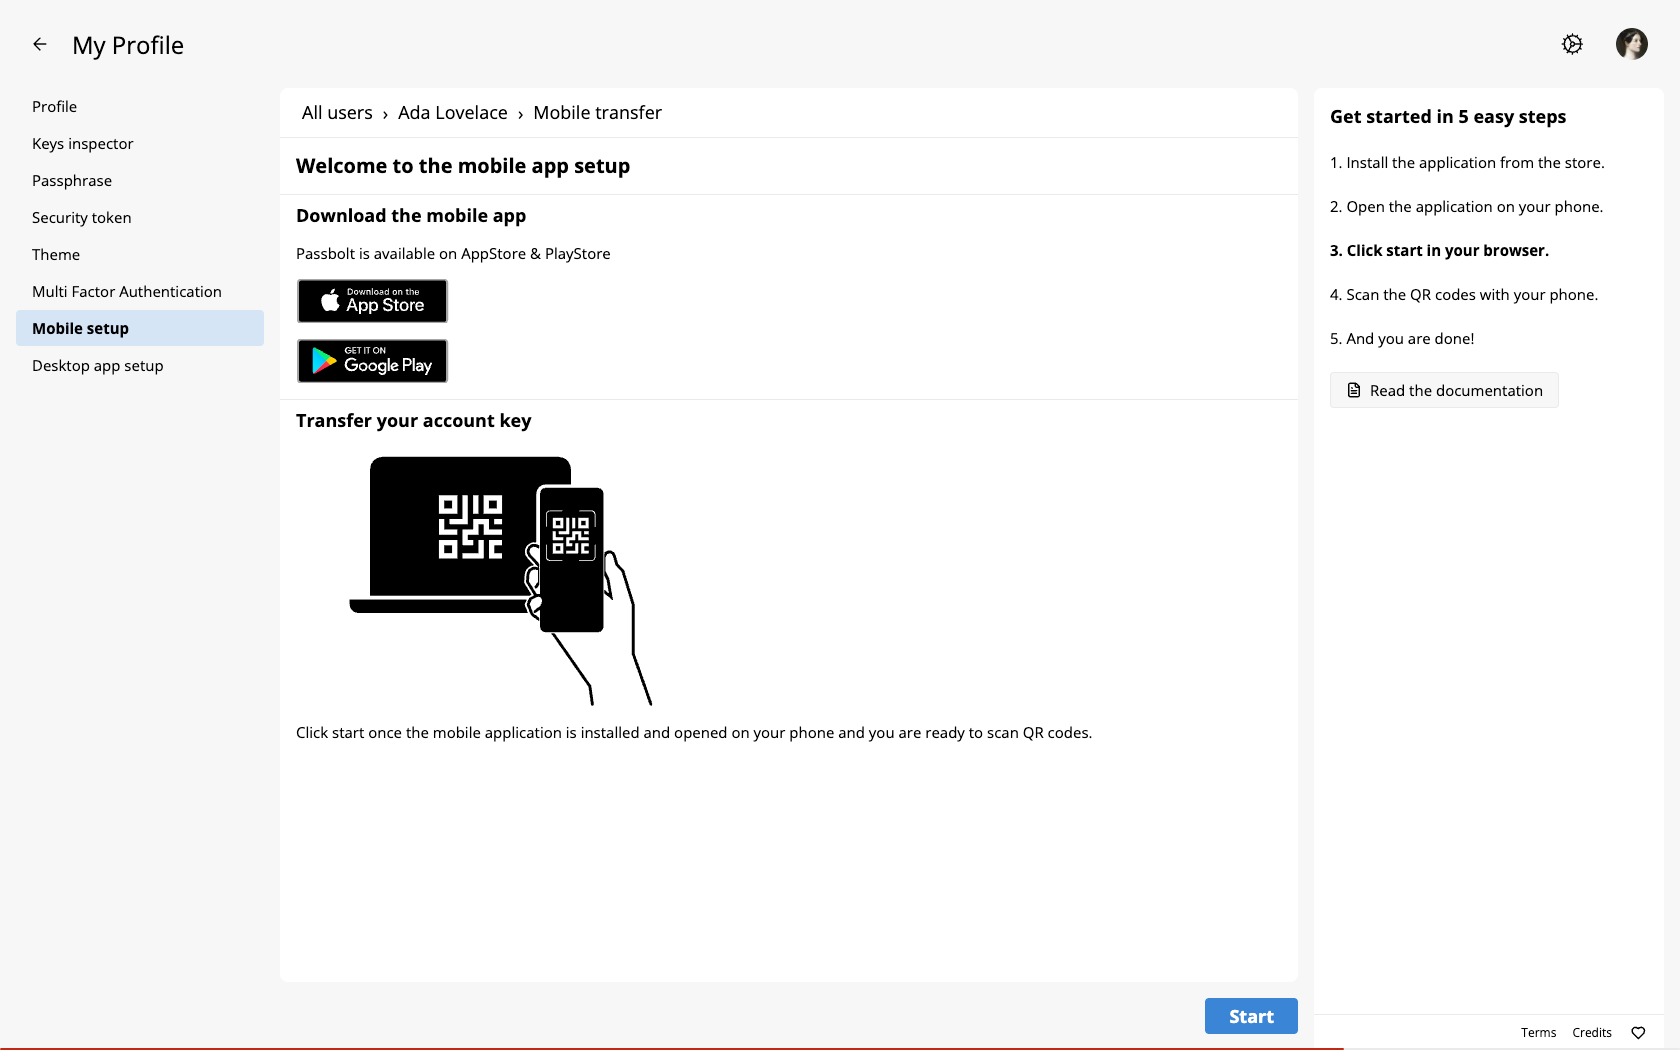
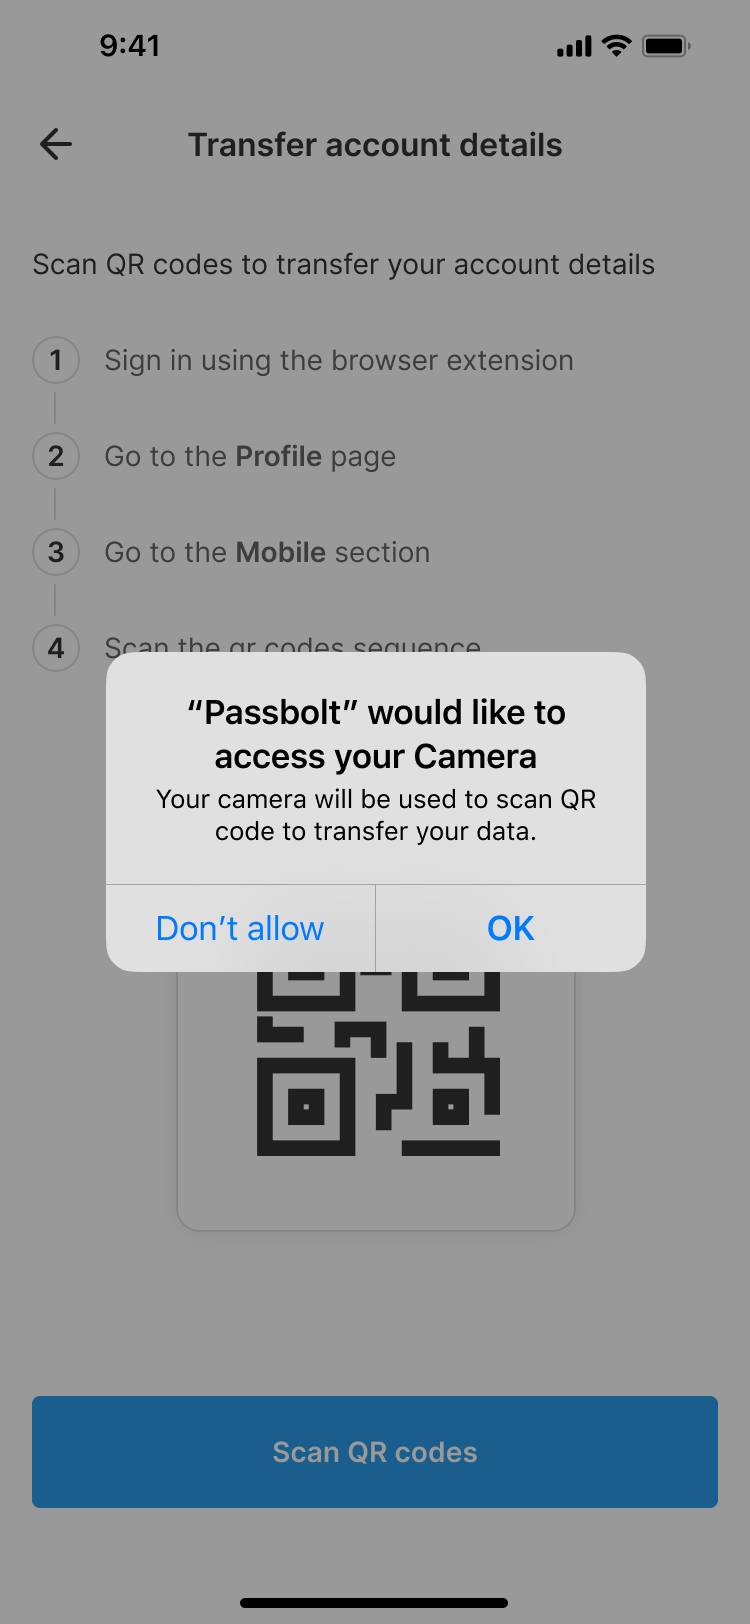
Step 4: Scan QR Code
- In the passbolt mobile app, tap "Scan QR code"
- Point your camera at the QR code displayed in your browser
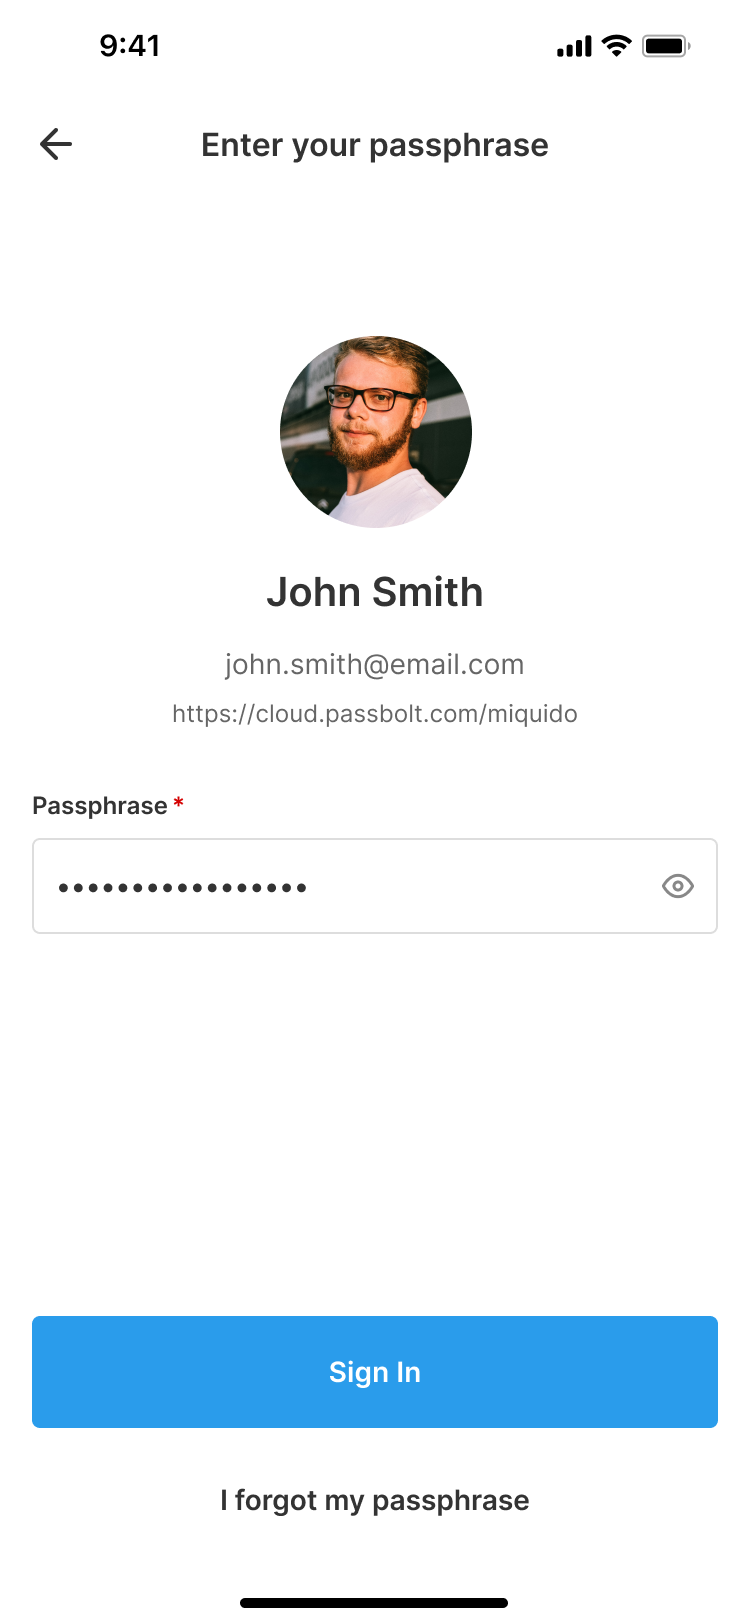
Step 5: Enter Passphrase
Enter your passphrase to authenticate and complete the setup.
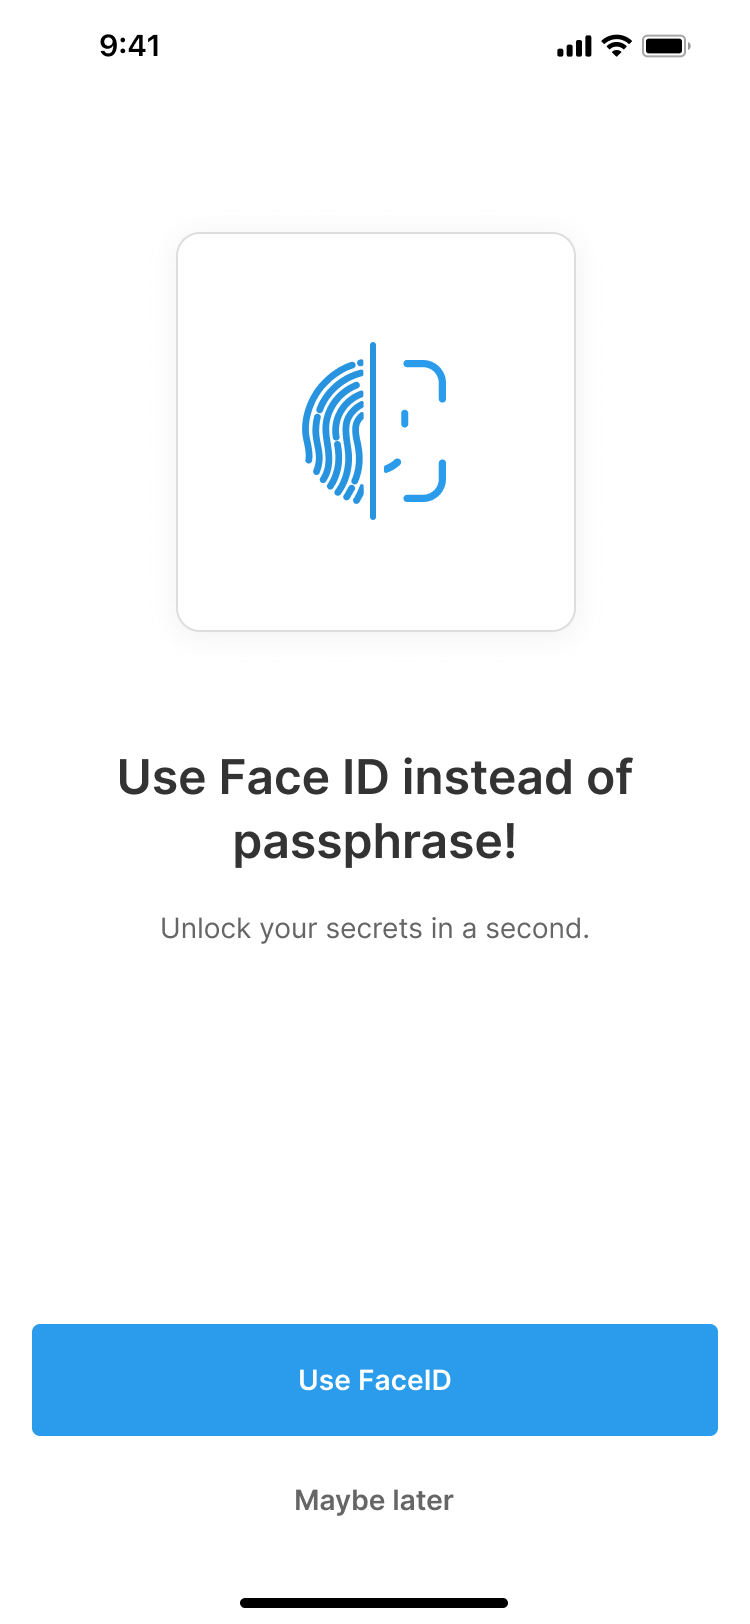
Step 6: Enable Face ID
Enable Face ID (recommended) so you can unlock the app with your face.
Step 7: Configure Autofill
Configure autofill settings. See our guide on disabling built-in password managers.
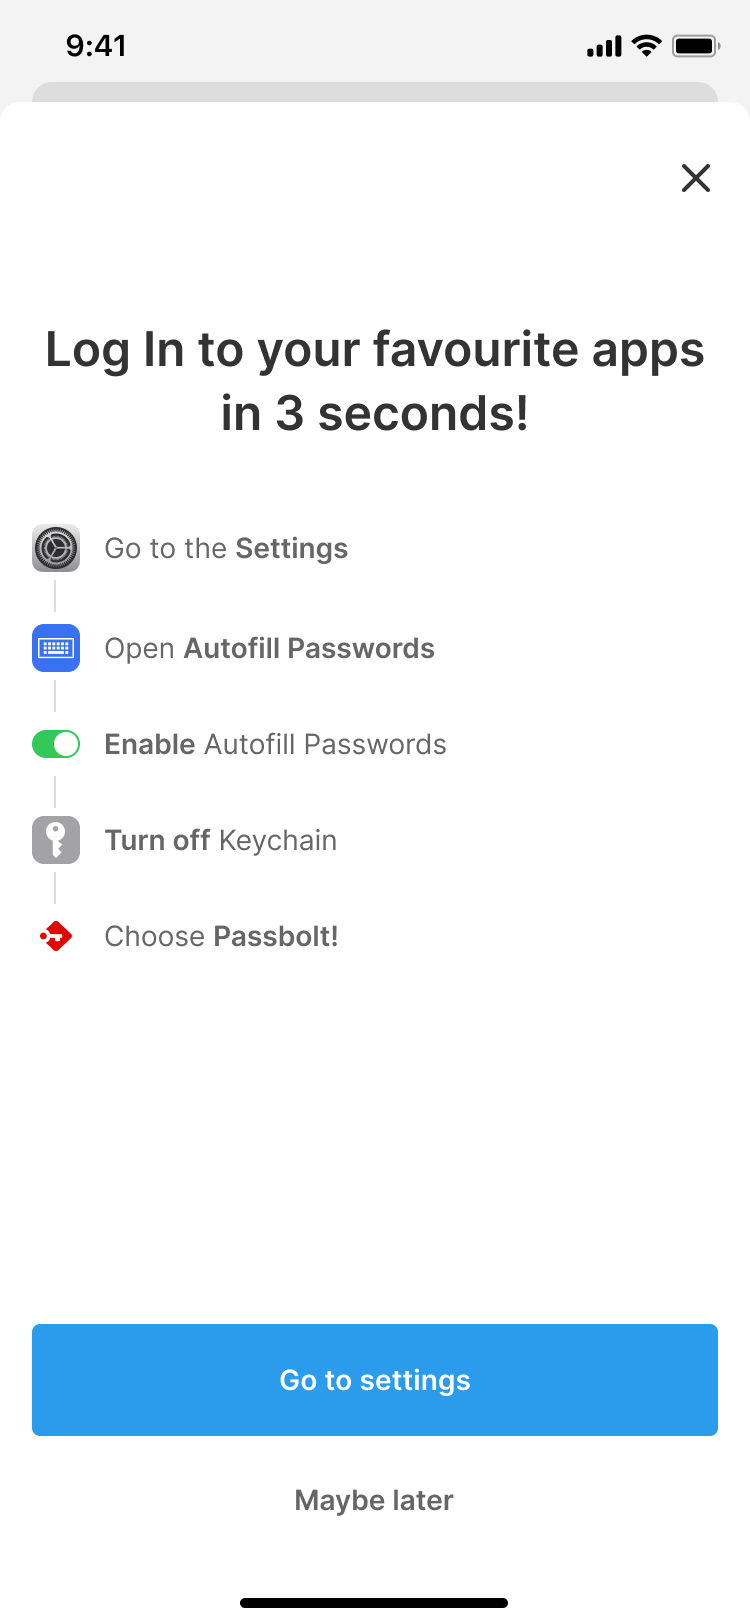
After enabling autofill, you should see a confirmation screen:

Disable Built-in Password Manager
Disable iOS's built-in password manager to prevent conflicts. See our guide on disabling built-in password managers.
Troubleshooting
Certificate Issues
- Ensure your server uses HTTPS
- For self-signed certificates, import the certificate to your device
- Check our TLS (SSL) certificate troubleshooting guide
Autofill Not Working
If autofill is not working, check that:
- The passbolt autofill service is enabled in your device settings
- You have granted necessary permissions to the passbolt app
- Your device's built-in password manager is disabled
Next Steps
- TOTP functionality on mobile