SSO account recovery
Since version 3.11.0, passbolt lets a user on a new browser or device start the account recovery process, or resume an unfinished setup, by authenticating with the organisation's SSO provider instead of the email verification link.
SSO account recovery replaces the identity verification step only. It does not restore a lost passphrase and does not replace a lost recovery kit: the user still needs their private key and passphrase to complete the recovery. A lost passphrase is handled by account recovery, not by SSO account recovery.
How does it work?
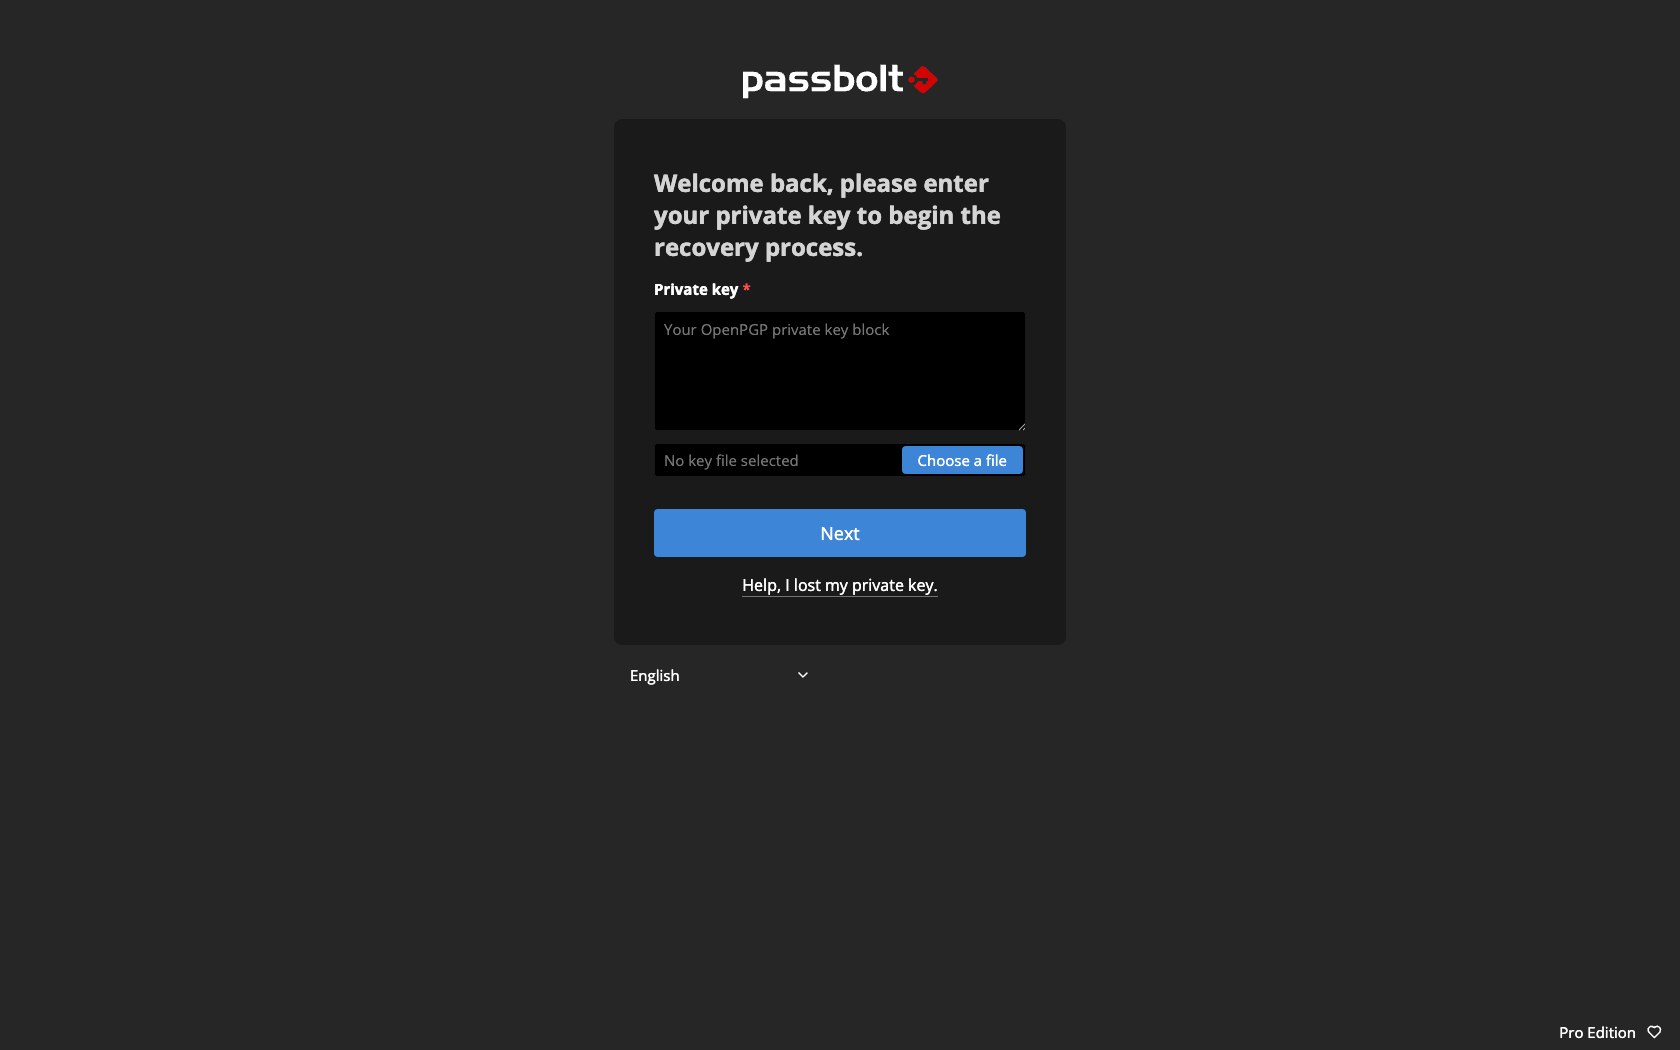
When a user opens the passbolt instance in a browser where the extension is not configured yet (a new computer, a new browser profile, or a reinstalled extension), the welcome screen normally asks for their email address and sends them a verification link. When SSO account recovery is available, the welcome screen offers to authenticate with the SSO provider instead. A successful SSO authentication proves the user's identity and sends them straight into the standard recovery flow, where they import their private key and enter their passphrase as usual.
A user who never completed their initial setup is sent back into the setup flow instead of the recovery flow.
When does it apply?
SSO account recovery is available when all of the following are true:
- The instance runs the Pro Edition or a Cloud plan.
- SSO is configured and active.
How to enable or disable it
There is no toggle in the administration interface. The feature is enabled by default as soon as an SSO provider is active, and is turned off through the server configuration:
- Package Installation
- Docker
Open /etc/passbolt/passbolt.php and edit the plugins block:
[...]
'passbolt' => [
  'plugins' => [
      'sso' => [
          'ssoRecover' => [
              'enabled' => false,
          ],
      ],
  ],
],
[...]
Set the environment variable on the passbolt container:
PASSBOLT_PLUGINS_SSO_RECOVER_ENABLED=false
Recover an account with SSO
Step 1. Open the passbolt instance in the new browser. The welcome screen shows "Welcome back!" with the message "Your browser is not configured to work with this passbolt instance. Please authenticate with the Single Sign-On provider to continue." and a sign-in button named after the configured provider, for example "Sign in with Microsoft". The five provider names are Microsoft, Google, OpenID, AD FS and PingOne.
The "Continue with my email." link falls back to the email verification flow; from the email screen, the "Continue with SSO." link comes back to this screen.
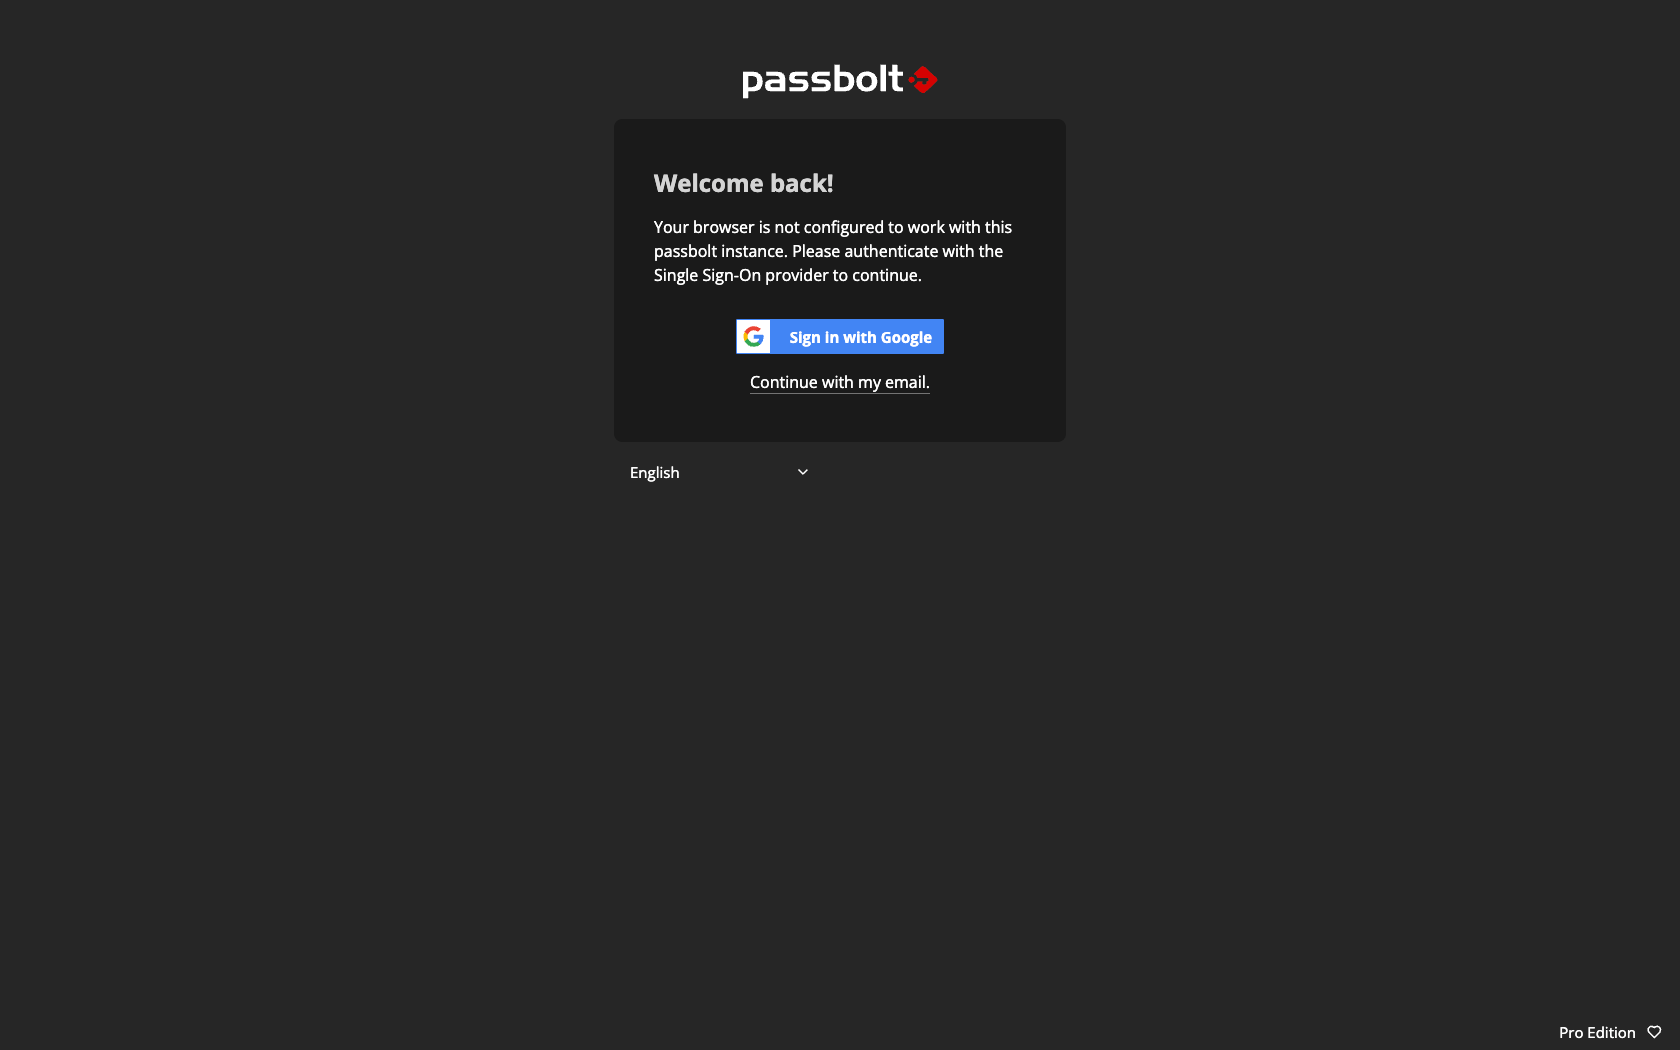
Step 2. Click the sign-in button and complete the authentication in the provider's popup.
Step 3. After a successful authentication, passbolt opens the standard recovery screen, "Welcome back, please enter your private key to begin the recovery process." From there, the recovery continues as usual: import the private key, then enter the passphrase.