3 min. read
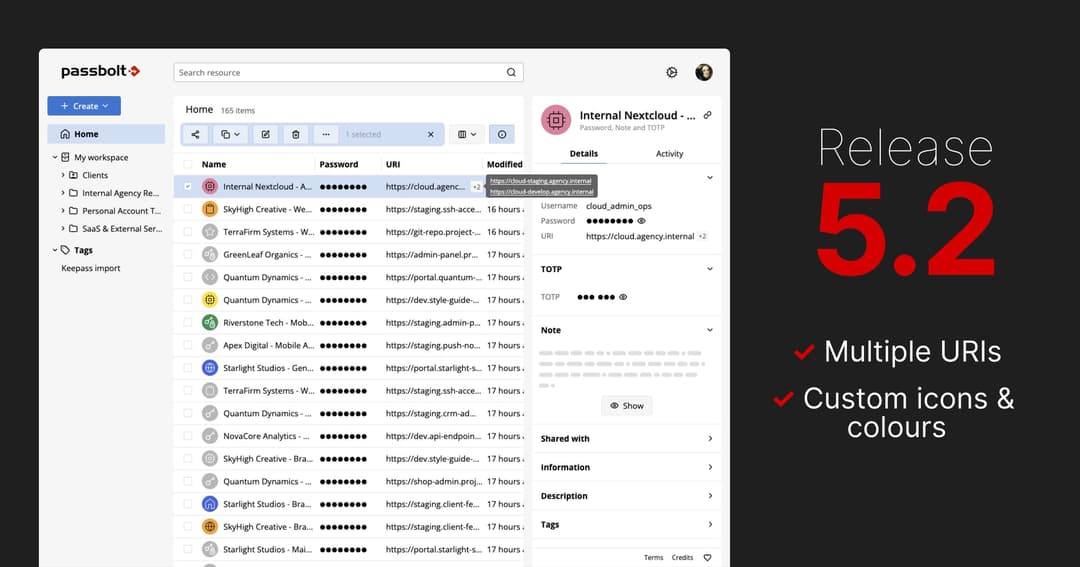
Passbolt 5.2 Introduces Multiple URIs and Custom Icons
Passbolt v5.2 brings personalised resource icons, multiple URIs per resource and adds Slovenian and Ukrainian language support. Check out all the details!

It goes without saying that a password manager is a critical part of any infrastructure, especially in a professional environment. This source of truth going down or being unavailable, even for a short while, could seriously disrupt your ability to do anything.
Passbolt can be self-hosted in a highly-available setup but it requires some advanced configuration. This article is there to explain the different steps needed in order to have a Highly-Available Passbolt environment in production.
Although this blog article is aiming to be as simple and easy-to-follow as possible, it is very important to note that we don't recommend using this configuration unless you feel very comfortable with the technologies used, as it is considered to be an advanced environment.
For achieving a High-Availability environment, we will need:
ha-1, ha-2 and ha-3 in this article)MySQL/MariaDB and SQLnftables, to avoid having the database ports exposed on the internetIt is important to have an odd number of servers to reduce the probabilities of a brain-split appearing during an outage.
As all things in life, we have to start somewhere, don't we? We need a base server to start building our High-Available environment, so let's use ha-1 as our starting ground.
On ha-1, we will start by installing Passbolt as we usually do, following the install guide available on our help site.
During the installation of the passbolt-pro-server (or passbolt-ce-server if you are using the Community Edition) package, you should be prompted with a few configuration-related questions.
When asked if you want to create a Passbolt database, you should reply “yes” and configure the database credentials as asked. These credentials are important to keep for the rest of this article. When asked if you want to configure the nginx server, you should reply “yes” as well. You can configure SSL as you require and continue following the steps as you are guided.
Finally, you can go on the newly installed Passbolt web interface, as instructed in the installer output, to finish configuring your Passbolt installation.
Once all the web‑installer steps have been followed and completed, you should be faced with the Passbolt web interface you may already be familiar with. But, before continuing on our journey, we will need to tell Passbolt to store its sessions in database, to ensure a seamless experience for users as their requests are handled by different servers.
By default, the CakePHP framework, used internally by Passbolt, stores its session‑related data on a temporary file saved on disk. This is great for ensuring a wide range of compatibility, but not so much for our High‑Availability setup as servers would have a different list of sessions, so we will need to move those to the database. In order to do that, we need to connect to the database and create the needed table.
mysql -u <the Passbolt database user> -p <the Passbolt database name>Once you've typed your Passbolt database password and pressed enter, a prompt saying MariaDB [<the Passbolt database name>]> should appear. You can just copy‑paste the following SQL snippet, press enter and then leave the prompt by typing exit.
CREATE TABLE `sessions` (
`id` char(40) CHARACTER SET ascii COLLATE ascii_bin NOT NULL,
`created` datetime DEFAULT CURRENT_TIMESTAMP, -- Optional
`modified` datetime DEFAULT CURRENT_TIMESTAMP ON UPDATE CURRENT_TIMESTAMP, -- Optional
`data` blob DEFAULT NULL, -- for PostgreSQL use bytea instead of blob
`expires` int(10) unsigned DEFAULT NULL,
PRIMARY KEY (`id`)
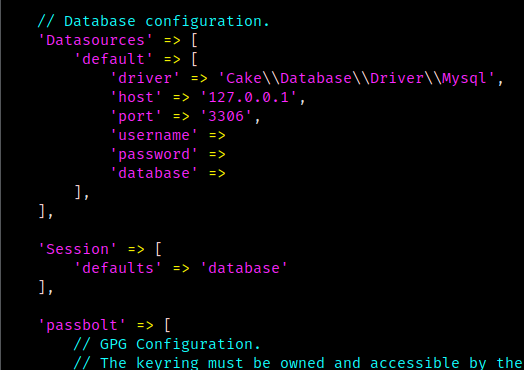
) ENGINE=InnoDB DEFAULT CHARSET=utf8;We can now tell Passbolt to use this newly‑created table, by adding the following snippet to the /etc/passbolt/passbolt.php file:
'Session' => [
    'defaults' => 'database'
],
This “Session” block should be placed at the same depth level as the “App” or “Datasource” blocks, just like this:
If all is well, the web interface is still accessible and working. If it doesn't, you can re‑check the configuration file for any missing comma or any bracket left open as it's likely to be the issue.
Congratulation, we just configured our first node! But, I can hear you say “A single node? That's not very High‑Available!” and you're right, it isn't.

Before configuring anything, let's answer a burning question: “What is Galera?” and more importantly, “Why is Galera?”
Short answer: Galera is a multi‑primary MariaDB‑based database cluster. As it is a multi‑primary cluster, all nodes are writeable and readable, with data write operations or database changes being replicated to all other nodes participating in said cluster. This is very useful to set‑up a truly High‑Available environment without being constrained to use only one database server for all write operations while the other servers are read‑only and in hot standby. If you need more information, I'd recommend taking a look at their official website.
This short explanation done, let's provision our Galera cluster.
On the ha-1 server, we need to stop the mariadb service using the systemctl stop mariadb command, then we need to edit the /etc/mysql/mariadb.conf.d/60-galera.cnf configuration file, such as:
[galera]
# Mandatory settings
wsrep_on                   = ON
wsrep_provider             = /usr/lib/galera/libgalera_smm.so
wsrep_cluster_name         = "Passbolt HA Galera"
wsrep_cluster_address      = gcomm://<ha-1 IP>,<ha-2 IP>,<ha-3 IP>
binlog_format              = row
default_storage_engine     = InnoDB
innodb_autoinc_lock_mode   = 2
innodb_force_primary_key   = 1

# Allow server to accept connections on all interfaces.
bind-address               = 0.0.0.0

# Optional settings
#wsrep_slave_threads       = 1
#innodb_flush_log_at_trx_commit = 0
log_error                  = /var/log/mysql/error-galera.log
Don't forget to replace the values
<ha-1 IP>,<ha-2 IP>and<ha-3 IP>with the actual IPs from your database nodes.
Of course, this is an example configuration that can be customized based on your needs and requirements, but it is a good starting point. The critical element here is the wsrep_cluster_address, as it contains the list of IPs that Galera will use for inter‑node communication for database‑replication.
The ports that you need to open in your firewall for this inter‑node communication are listed on the Galera cluster firewall documentation.
We can now initialize the Galera cluster, using the sudo galera_new_cluster command. Once the command prompt is back, we can connect to the MySQL console to check the state of our new cluster:
$ mysql -u root -p
Enter password:
Welcome to the MariaDB monitor.  Commands end with ; or \g.
Your MariaDB connection id is 36
Server version: 10.11.11-MariaDB-0+deb12u1 Debian 12

Copyright (c) 2000, 2018, Oracle, MariaDB Corporation Ab and others.

Type 'help;' or '\h' for help.  Type '\c' to clear the current input statement.

MariaDB [(none)]> show status like 'wsrep_cluster_size';
+--------------------+-------+
| Variable_name      | Value |
+--------------------+-------+
| wsrep_cluster_size | 1     |
+--------------------+-------+
1 row in set (0.001 sec)

MariaDB [(none)]>
As you can see, we have 1 database node in our cluster as of now.

We can now edit our /etc/mysql/mariadb.conf.d/50-server.cnf configuration file to tell MariaDB to listen on all interfaces, so that the other nodes of the cluster can connect later on:
bind-address = 0.0.0.0On ha-2 and ha-3, our two other nodes, we can intall Passbolt as we previously did, except when asked if we want to create a Passbolt database on the local mysql server, we need to reply “No” as we will be doing it ourselves. Regarding the SSL configuration, it's important to use the same certificate files that you imported or that were created by Let's Encrypt on the first server, to avoid any issue when requests will get distributed to different servers. If you use the three servers for handling their own requests by themselves, you'll need to setup a replication system for the certificates.
We can now stop the database service using systemctl stop mariadb on both servers, copy‑paste the /etc/mysql/mariadb.conf.d/60-galera.cnf configuration file from our first node to the other two, and finally run systemctl restart mariadb to restart the database service on every node (even ha-1).
If we connect to any of our database servers, we should now get 3 as the number of nodes provisioned in our Galera cluster:
mysql -u root -p
Enter password:
Welcome to the MariaDB monitor.  Commands end with ; or \g.
Your MariaDB connection id is 49
Server version: 10.11.11-MariaDB-0+deb12u1 Debian 12

Copyright (c) 2000, 2018, Oracle, MariaDB Corporation Ab and others.

Type 'help;' or '\h' for help.  Type '\c' to clear the current input statement.

MariaDB [(none)]> show status like 'wsrep_cluster_size';
+--------------------+-------+
| Variable_name      | Value |
+--------------------+-------+
| wsrep_cluster_size | 3     |
+--------------------+-------+
1 row in set (0.001 sec)

MariaDB [(none)]>
If you don't get the right number of nodes in the “Value” column, it means that something is either missing from the configuration or not working correctly.
Our database and all its subsequent modifications are now being replicated to the other database nodes.
Now that we replicated the database successfully, we also need to configure Passbolt on our ha-2 and ha-3 nodes.
Doing this can be easily done by just copying the following elements from our reference ha-1 node to the other two nodes, making sure the permissions are preserved during the transfer:
/etc/passbolt/passbolt.php/etc/passbolt/gpg//etc/passbolt/jwt/Once this is transferred with the same permissions, either by using scp, rsync or sftp, all Passbolt servers should now be usable! We can even confirm this by running the following healthcheck command on all three servers:
sudo -u www-data bash -c "/usr/share/php/passbolt/bin/cake passbolt healthcheck"The output of this command should end with:
[PASS] No error found. Nice one, sparky!If you encounter any GPG‑related errors, you can run the following command to fix them:
sudo su -s /bin/bash -c "gpg --home /var/lib/passbolt/.gnupg --import /etc/passbolt/gpg/serverkey_private.asc" www-data
Congratulations, you now have a High‑Available Passbolt environment!

When upgrading Passbolt, all nodes need to be upgraded at roughly the same time, as upgrading Passbolt on a node will apply its database migrations to the database, replicating them across the cluster, as well as other nodes that haven't been upgraded yet. You also need to replicate any configuration modification on the passbolt.php file to the other nodes. Not doing so could cause some intermittent issues with errors appearing based on the server treating the request.
As for how to have your clients communicate with the different servers, you can:
Use a load balancer in front of the three nodes, which would be also responsible for providing HTTPS support
Add all three servers to the DNS records, but using this you need to:
We've done it, we now have a Highly‑Available Passbolt environment in production. See you in another blog post!
3 min. read
Passbolt v5.2 brings personalised resource icons, multiple URIs per resource and adds Slovenian and Ukrainian language support. Check out all the details!
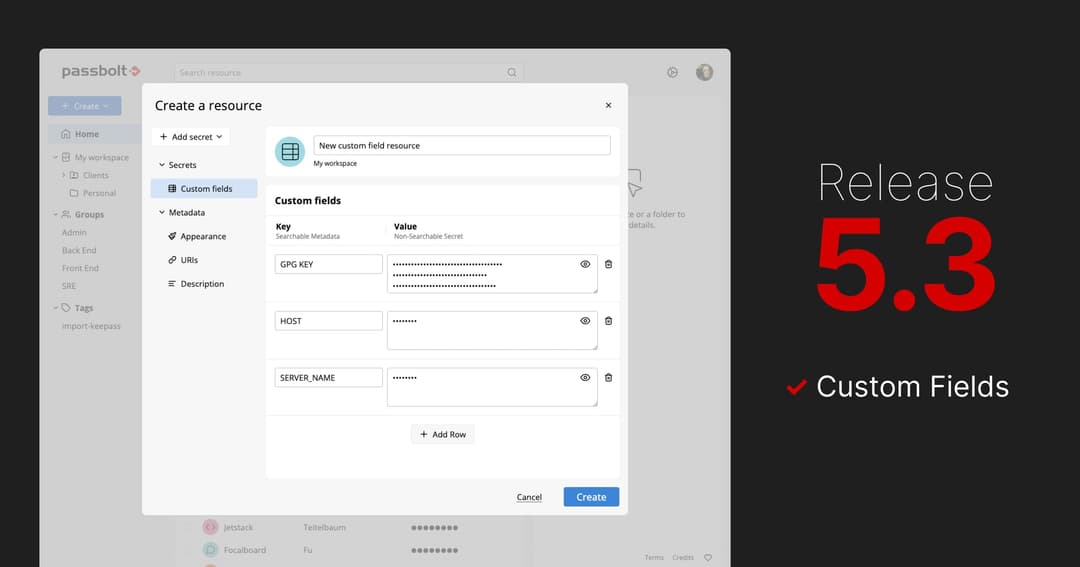
4 min. read
Passbolt 5.3 introduces custom fields, allowing structured key-value data alongside credentials and includes performance enhancements.