Configure Email authentication with Mailchimp
Introduction
This page is dedicated to providing you with valuable resources to help you configure an authentication method based on the email provider you choose. Authentication is an essential security measure that verifies the identity of users and ensures that only authorised individuals have access to sensitive information.
In order to follow this guide, you will need an email provider. If you want to know how to configure your email provider, please follow this link.
Mailchimp
- Administration panel
When you are using Mailchimp, once logged in, you will be automatically redirected to the administration panel dashboard.
You will need to navigate to Transactionnal > SMTP & API > SMTP Credentials and click on Create A Key.
- Create your SMTP Credentials
Give your new SMTP key a name that is easy to remember, such as the name of your web application. When you create an SMTP key, you will be prompted to give it a name that will help you remember what it's for. This is important because you may have multiple SMTP keys for different applications, and you don't want to get them confused. Make sure to choose a name that is descriptive and easy to remember, such as the name of your web application.
Copy the generated SMTP key as you will need it to authenticate your SMTP requests. After you have created your SMTP key, Mailchimp will generate a unique key string that you will need to copy and use to authenticate your SMTP requests. Make sure to copy the entire key string exactly as it appears, as any errors or omissions could prevent your SMTP requests from being authenticated.
Your SMTP username is the same as the login credentials to your Mailchimp account. Make sure that it remain, with the correct capitalization and any special characters.
- Authentication on Passbolt GUI
On your Passbolt instance, you can navigate to Administration > Email server.
You will need to fill in your smtp credentials to match your authentication method (username & password).
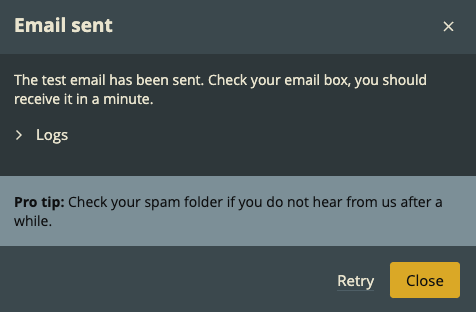
- Test your configuration
Before saving your configuration, you will need to test it in order to avoid any issues. it should pass and give the results shown below.
- Save your configuration
If everything went as expected, do not forget to save your configuration and "Success: The SMTP settings have been saved successfully" should appear.